
Learning different log levels with their order along with the demo
Introduction
- Log levels are the way to categorize application log messages based on their severity and priority.
- In this article, we will learn about various log levels & how to set them in Spring Boot
Log Levels
TRACE
- Trace messages provide detailed information on execution. For detailed debugging trace logs are added to the applications.
- These messages are often useful during the development phase of the application but are generally not so popular in production applications.
DEBUG
- More like TRACE log, but less granular.
- TRACE log is mostly used during application development but turned off in production.
INFO
- INFO messages is generally used to provide high-level application information, such as state transition, config setup, initialization, startup, etc.
- This log level is used in production applications.
WARN
- WARN messages indicate potential issues or anomalies that are not critical but should be monitored and investigated.
- This log level is used in production applications.
ERROR
- ERROR messages are used to provide more severe issues that are critical for the application and must be recovered for the reliable function of the application.
- This log level is used in production applications.
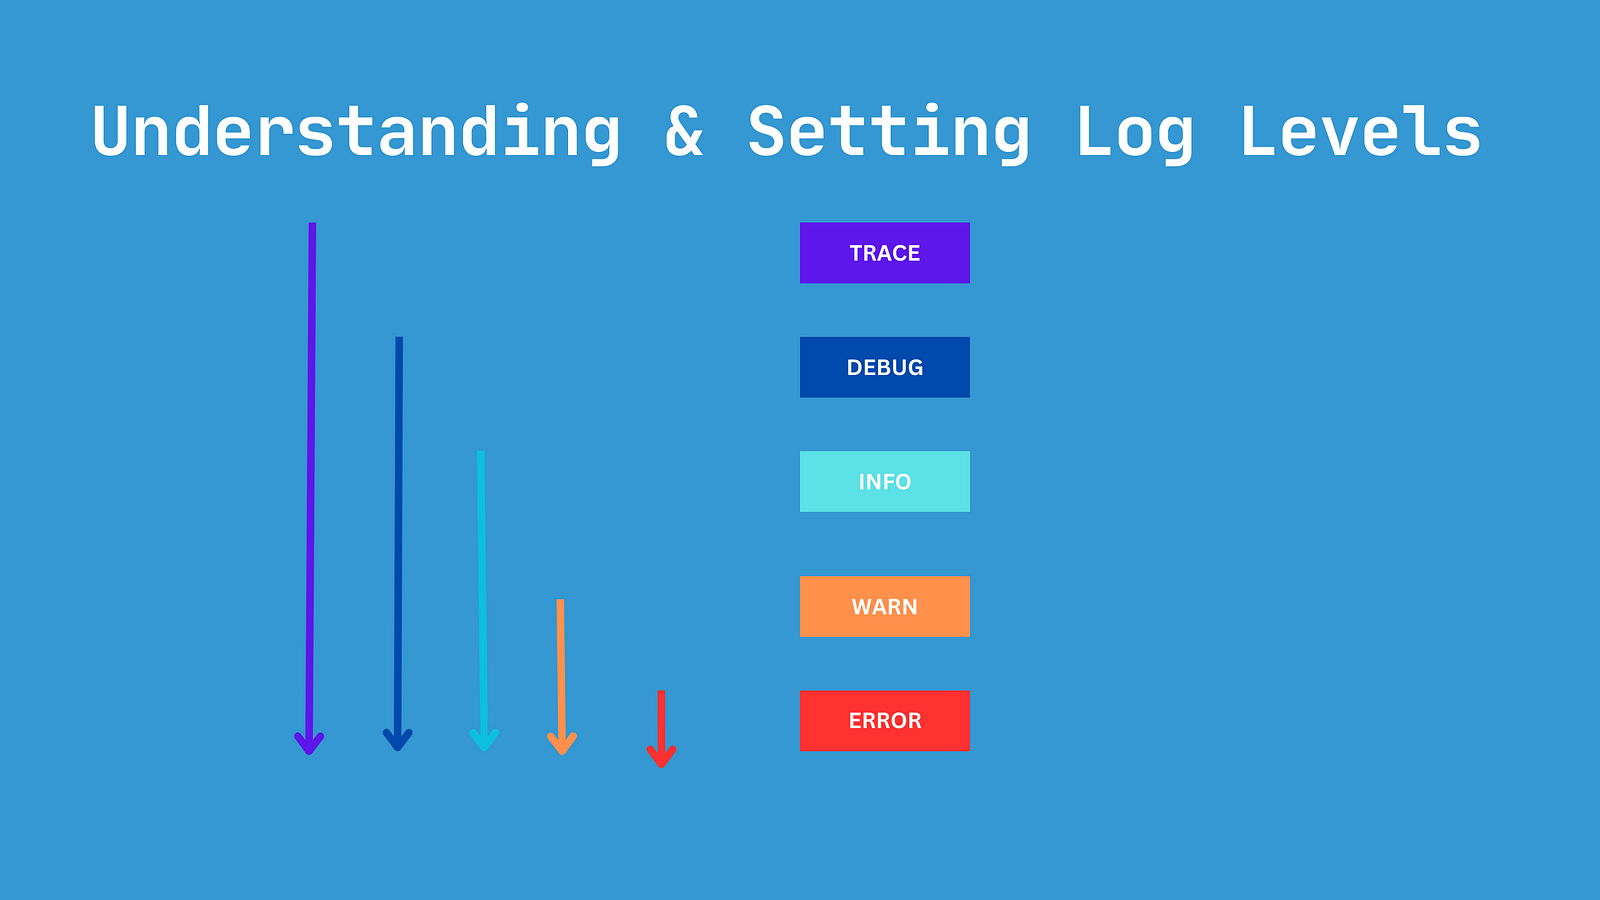
Log Level Order
TRACE < DEBUG < INFO < WARN < ERROR
- If we set the log level to TRACE, then our application will print all the log that are TRACE and greater than it.
- Similarly, if we set the log level to INFO, then the application will print all the logs that INFO, WARN, or ERROR.
- Let’s see this in practice.
Demo
- For example purposes, we are just printing all types of logs here.
    @GetMapping("/log")
    public void getLogged(){
        logger.trace("trace");
        logger.info("info");
        logger.warn("warn");
        logger.error("error");
        logger.debug("debug");
    }
Log Level = TRACE
In the application.properties file let’s set
logging.level.com.asyncq=DEBUG
here we are setting the log level for package com.asyncq. we can also set for entire project using logging.level.root.
Now that we have configured the log level, let’s hit log endpoint to print the logs to console.
curl localhost:8081/log

Log Level = DEBUG
Let’s set the log level to debug.
logging.level.com.asyncq=DEBUG
Now if we hit the endpoint, the below log message will be printed.

Log Level = INFO
Lets set the log level to INFO.
logging.level.com.asyncq=INFO
Now if we hit the endpoint, below log message will be printed.

Log Level = WARN
Let’s set the log level to WARN.
logging.level.com.asyncq=WARN
Now if we hit the endpoint, the below log message will be printed.

Log Level = ERROR
Let’s set the log level to ERROR.
logging.level.com.asyncq=ERROR
Now if we hit the endpoint, the below log message will be printed.

Source Code
- Download the source code here.
Conclusion
- In this article, we learn about different log levels with their order.
- We also verified its order with a demo.
Before You Leave
- Upgrade your Java skills with Grokking the Java Interview.
- If you want to upskill your Java skills, you should definitely check out
[NEW] Master Spring Boot 3 & Spring Framework 6 with Java
[ 38 hrs content, 4.7/5 stars, 6k+ students already enrolled] - Subscribe to Java/Spring Newsletter